Ankylosing Spondylitis
We Give You The Best ! Services THat You Can Trust

We Give You The Best ! Services THat You Can Trust
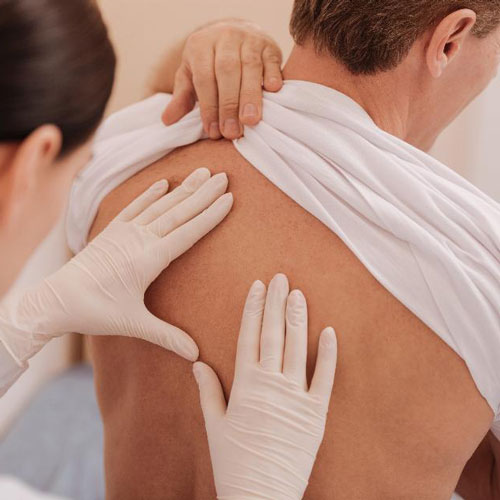

Spondylitis is a term used to describe different changes in your spinal joints it may be caused by aging degenerative changes or osteoarthritis. There are 3 general types of spondylitis cervical thoracic and lumbar the type depends on which spinal region is involved in the pathological process. When joint cartilage breaks down the space between vertebrae decreases which creates additional pressure on the intervertebral disc. Excessive growth of surrounding bone tissue in the form of osteo fights on bone spurs may occur as the body tries to repair itself by building extra bone. Osteo fights and the decrease in space between the vertebrae cause pathological processes involving all structures located between the affected vertebrae such as facet joints spine look asks nerve roots and the spinal cord.

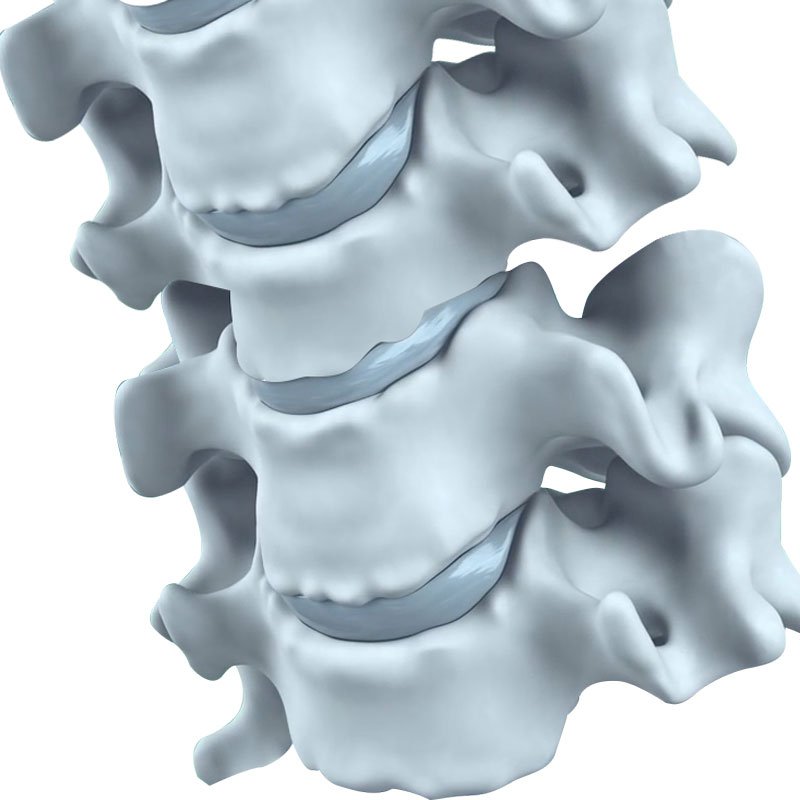
The person is having symptoms, such as chronic pain in the low back, but there is no evidence of joint involvement on x-rays, Magnetic resonance imaging (MRI) may show abnormalities in this early stage.2
Treatment Time : 3 Month
Sesssion Required : 10+
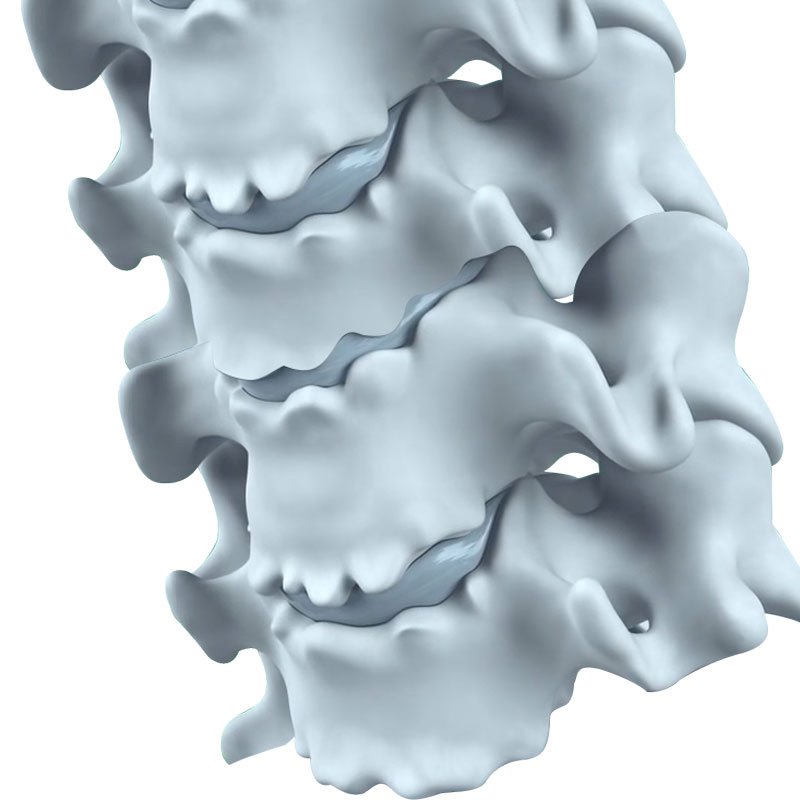
Joint involvement, particularly in the sacroiliac joints (located between the pelvis and spine), is visible on x-rays. Along with the symptoms of AS, these features make AS more likely to be diagnosed at this stage.2
Treatment Time : 6 Month
Sesssion Required : 20+
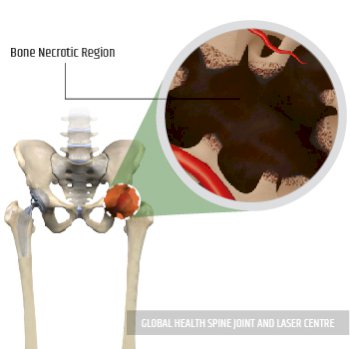
Joint damage has occurred and is irreversible. The chronic inflammation of the joints causes bone loss, and as the body rebuilds this bone tissue, new bony tissue encompasses where the ligaments attach to the joint.
Treatment Time : 9 Month
Sesssion Required : 30
HLA-B27 PROTEIN developed Ankylosing Spondylitis Stage 3.
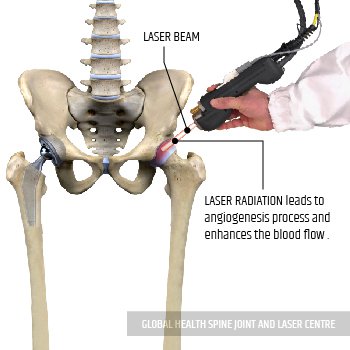
Laser beam applied to the fused bone.
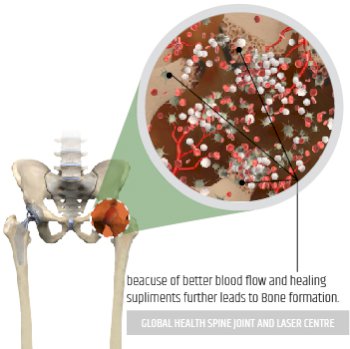
After Laser treatment, it started reduces the production of HLA-B27 Protein.
Healthy & the full range of motion of Spine

Step 1:Legs-Up-the-Wall Pose, or Viparita Karani in Sanskrit, is a restorative yoga posture that offers a wealth of benefits, making it a popular choice among people wishing to relax. It’s accessible to many people due to its ease and modifications options.
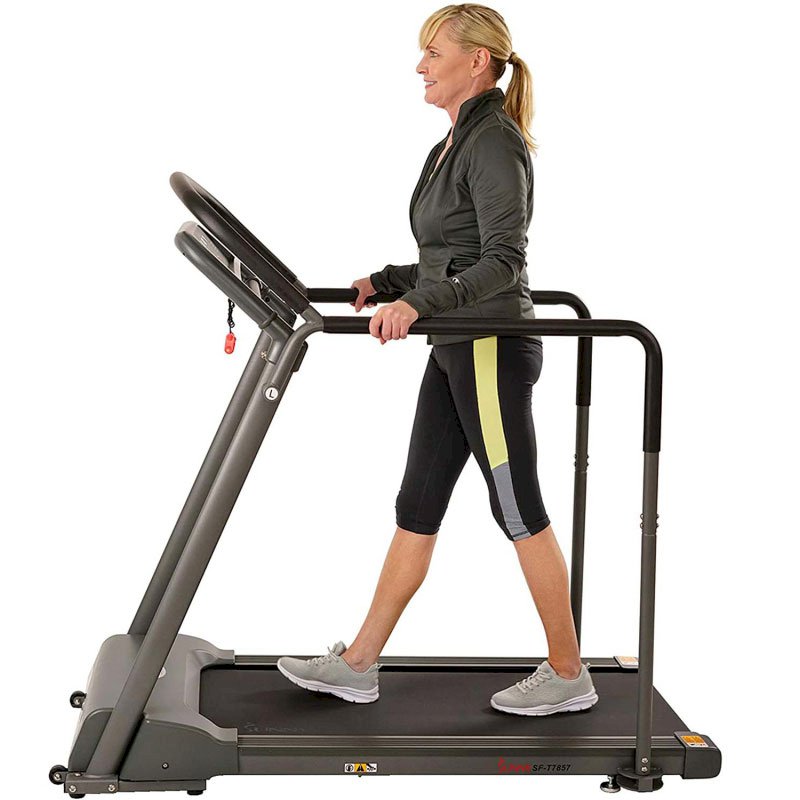
Step 1:Exercise can ease pain and inflammation. When you boost your heart rate, it also makes feel-good chemicals in your body. Any exercise is great. But you get a bonus from doing weight-bearing exercise — when your joints have to support your weight, like when you walk instead of swim. It helps “feed” the cartilage in your joints and spine. Get your heart pumping most days of the week. Start with 5 to 10 minutes a day. Try to work up to 30 minutes or more.
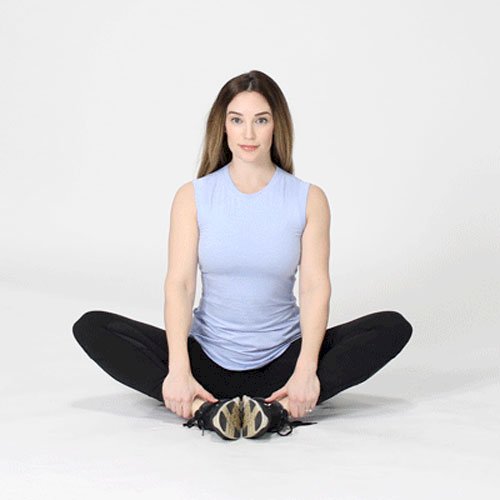
Step 1 : Sit on the floor or a prop with the soles of your feet pressing into each other.
Step 2 : To deepen the intensity, move your feet closer in toward your hips. Root down into your legs and sitting bones. Elongate and straighten your spine, tucking your chin in toward your chest. Hold this position for up to 2 minutes.

Step 1 : Sit upright and look straight ahead with the ears directly over the shoulders.
Step 2 : Pull the chin and head straight back until a good stretch is felt at the base of the head and top of the neck. Hold for 5 seconds if possible.
Step 3 : Bring the chin forward again. Repeat for a total of 10 times, or as tolerated.

Step 1 : Lie on your stomach with your legs behind you.
Step 2 : Slowly prop yourself up on your elbows so your chest is off the ground. If you’re able, straighten your arms. Hold for 10 to 20 seconds. Repeat 3-5 times.

Step 1 : Inhale slowly and deeply through your nose. Keep your shoulders relaxed. Your abdomen should expand, and your chest should rise very little.
Step 2 : Exhale slowly through your mouth. As you blow air out, purse your lips slightly, but keep your jaw relaxed. You may hear a soft “whooshing” sound as you exhale.
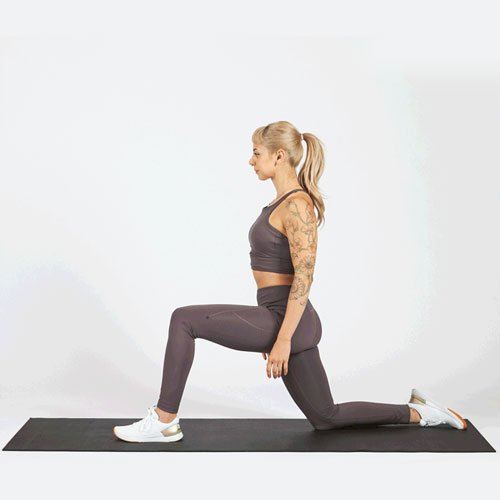
Step 1 : Begin in a half-kneeling position with your right leg in front and left knee grounded.
Step 2 : Squeeze the glutes on the left side to help release the hip flexors on the left, shifting your weight slightly forward.
Step 3 : To add to this stretch, reach your left arm overhead and gently bend your torso toward the right. Hold for 45 seconds and repeat on the other side.

Step 1 : Lie on your back with your hips square and your legs laid out comfortably on the floor.
Step 2 : Bend the knee of your non-injured leg at a 90-degree angle, planting the foot flatly on the floor. Hold for three seconds. Relax and repeat 10 times more.

Step 1 : Start in a standing position with your feet flat on the floor and your forearms on the kitchen counter. Kneel on a mat. Put your forearms on the ground.
Step 2 : Push your legs out behind you and balance on your toes. Squeeze your stomach and butt muscles to hold your body in a straight line. Keep your neck in line with your spine. Hold for 5 seconds. Repeat 3-5 times.
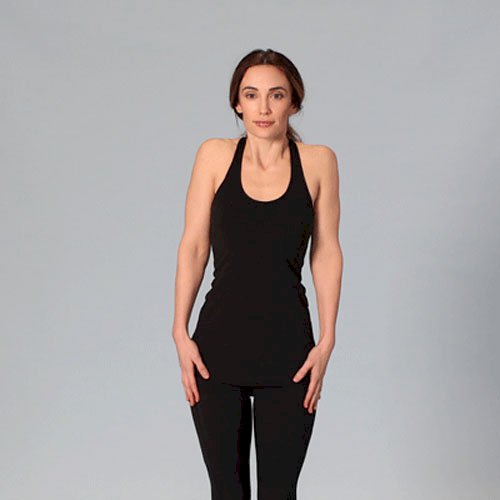
Step 1 : Keep your spine as straight as you’re comfortably able to.
Step 2 : Gently shrug your shoulders up toward your ears.
Step 3 : Then move your shoulders back and down. You can feel this in your upper back.
Step 4 : Think about pulling your shoulder blades together and down in a rolling motion. Repeat 5 to 10 times.
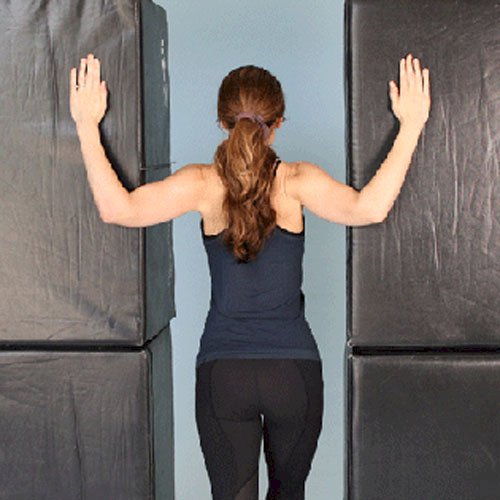
Step 1 : Find a corner and stand facing it. Raise your arms up. Rest the palms of your hands on the walls.
Step 2 : Gently press your chest toward the corner. Your arms will provide tension. You’ll feel the stretch across the front of your chest. Hold for 20 to 30 seconds.
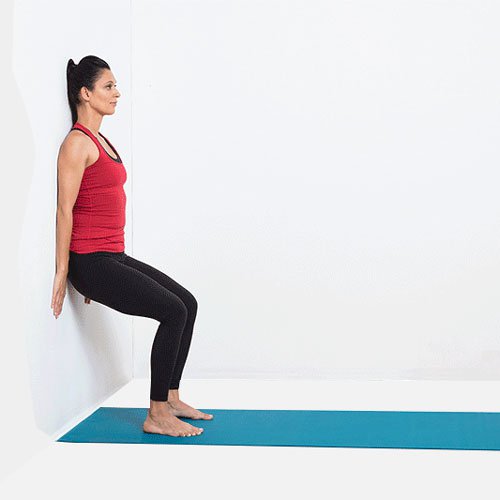
Step 1 : Stand with your back against a wall. Put your feet shoulder-width apart, and away from the wall.
Step 2 : Slowly slide your back down the wall. It may take time, but work towards being able to get to the point where your thighs are parallel with the floor like you’re sitting in a chair. Hold for 5 to 10 seconds.

Contains

Contains

Contains

Contains
Contains